











Building a Retro Games Console with a Raspberry Pi4

In today’s post, I explore Building a Retro Games Console with a Raspberry Pi4 and a nespi4 case. This post is also a mini-guide in which I will also list all of the parts used. I will also provide links as to where to get them.
Parts used in this post
Raspberry Pi4 (any model) price varies
Retroflag NESPi 4 case (full kit)
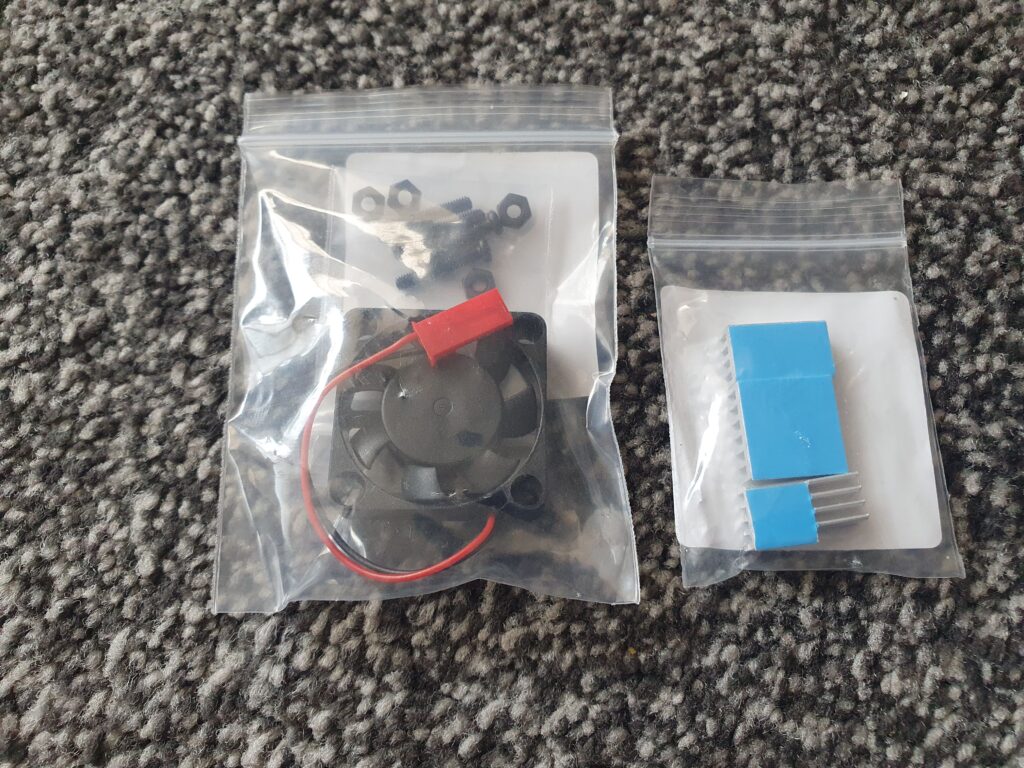
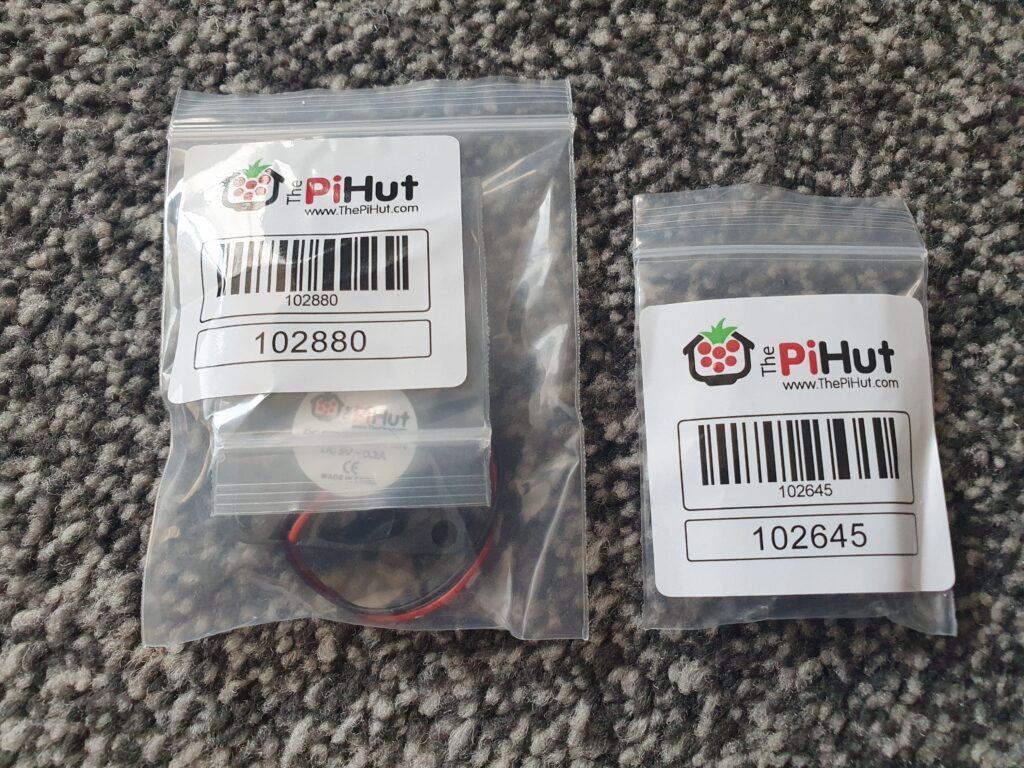
Heatsinks (NESPi comes with them depending on NESPi 4 case purchased)
Fan (NESPi 4 full kit has one included, only needed if buy the cheaper kit)
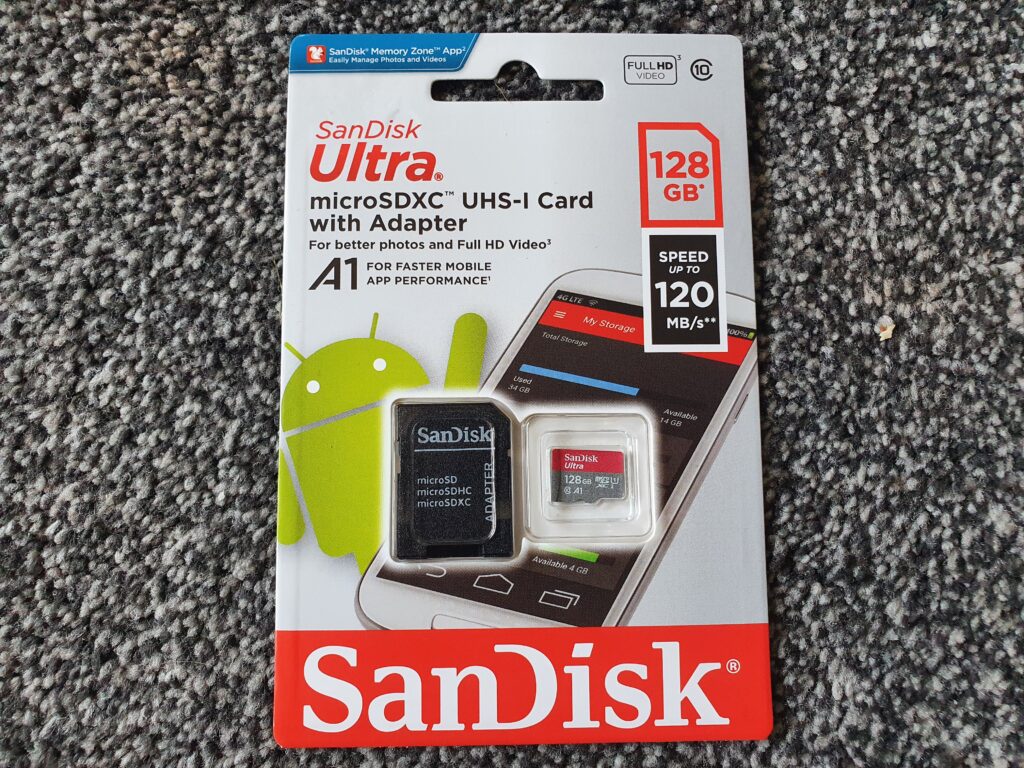
Micro SD Card of your choice (for this build I used a SanDisk 128GB card)
Raspberry Pi 4 USB-C Power Supply
Game Controller of your choice (I used PS4 DS4)
A look at some of the parts raspberry pi4 and nespi4 case


The NESPi 4 case
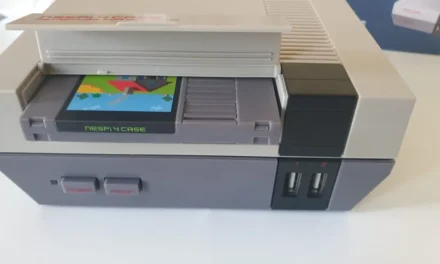
The Retroflag NESPi 4 case is inspired by the 1980s in mind. This case is an ideal case for a premium retro gaming setup. The case features power and a reset button that safely shuts down and restarts your Raspberry Pi. Also, a power indicator LED to let you know when your system is on.
The flap opens and inside you will find a retro-style cartridge that houses a 2.5 SSD drive. You can now boot from SSD instead of a MicroSD. I chose to go with a 128GB MicroSD for my build but the SSD is a great option.
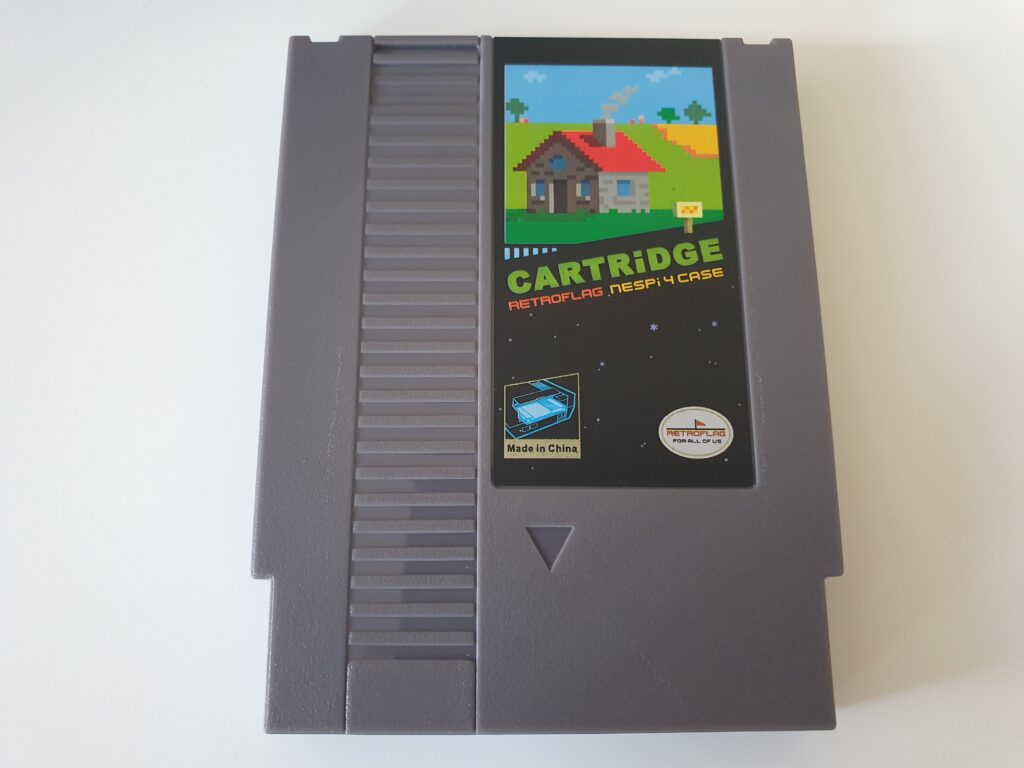
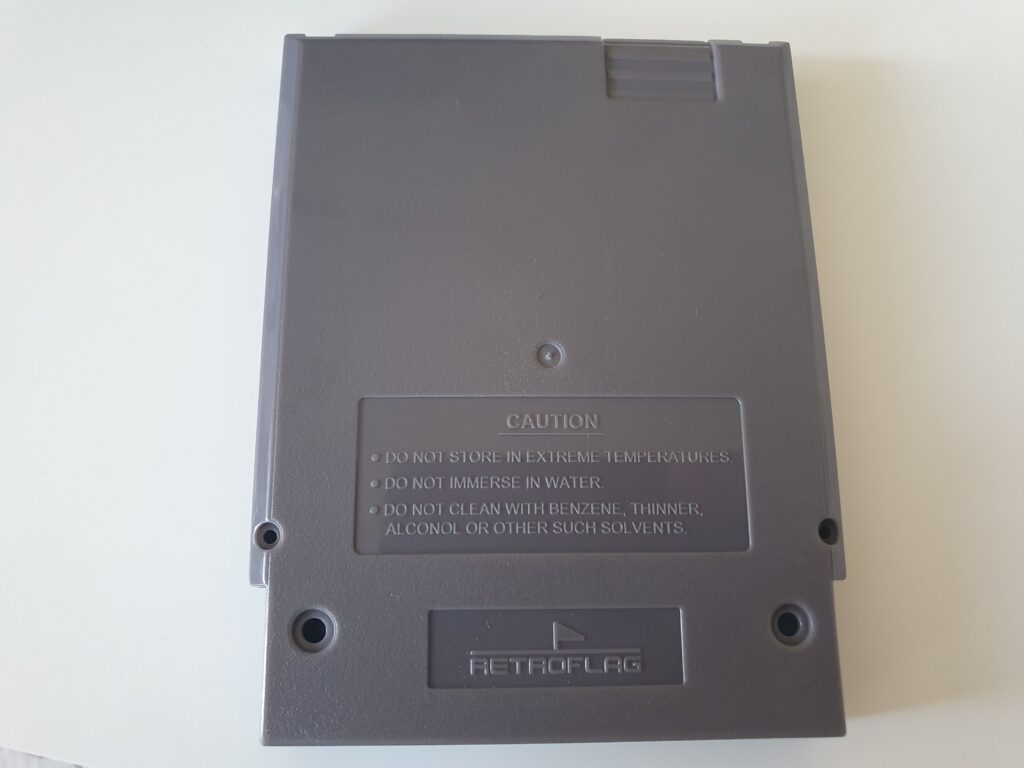

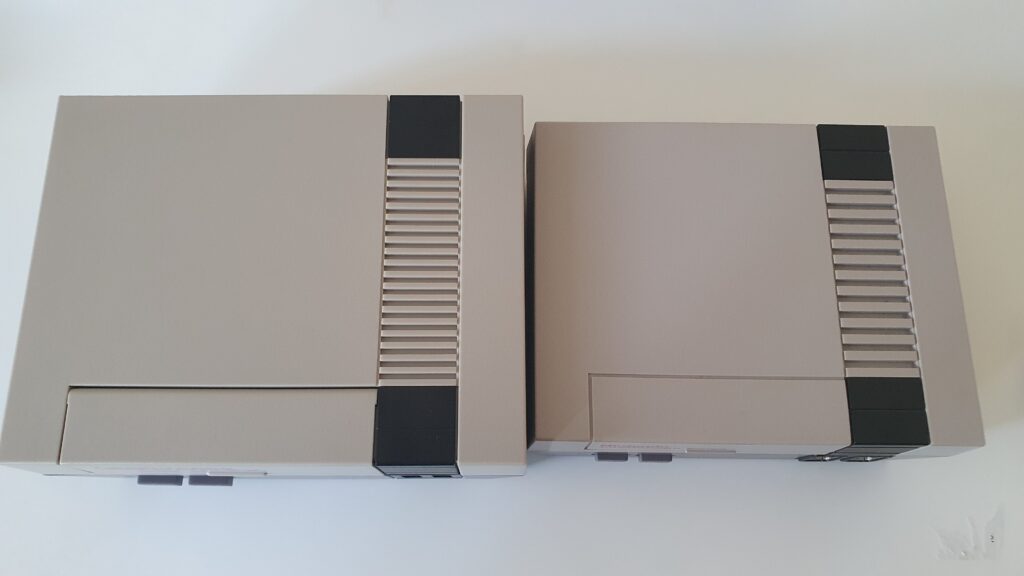
The case has Internal and External USB 2.0 ports but note that The case both uses and expands those ports. Overall you are left with 3 ports – 2 external and 1 internal. The 2 external are located on the front for your choice of controllers. There were no heatsinks, fan, or power cable with this kit so I had to purchase those separately. The NESPi 4 case is slightly bigger than the Nintendo mini classic as pictured.

The Raspberry Pi4
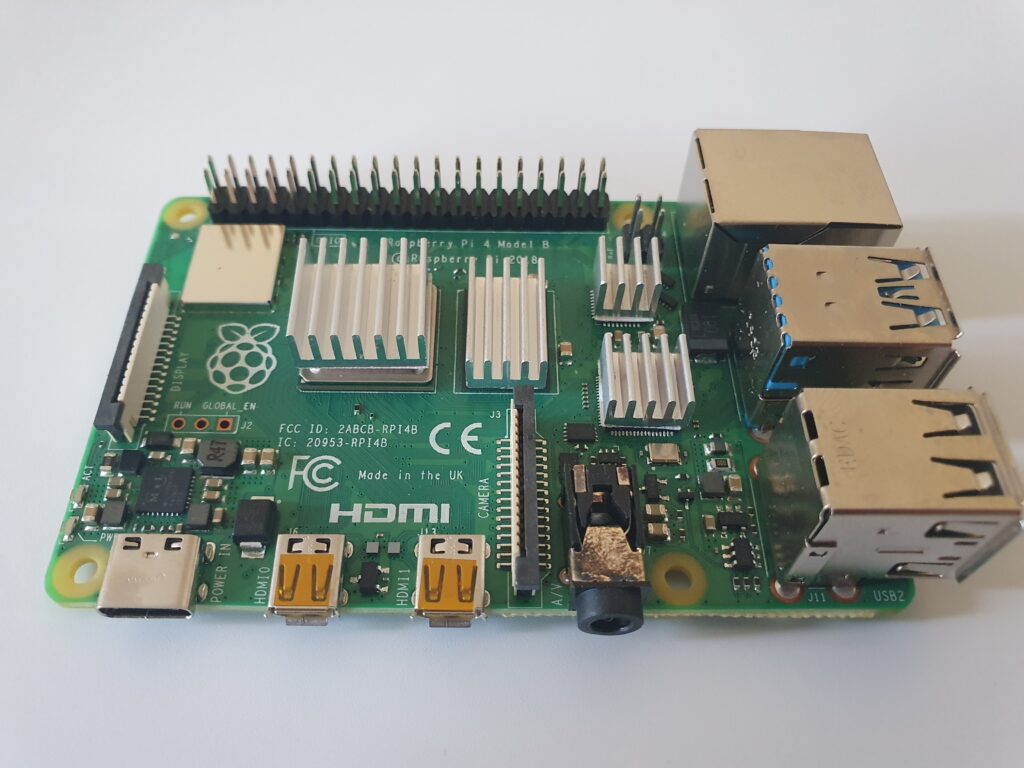
The Raspberry Pi4 is an incredible improvement on previous boards. It uses dual 4K displays and super-fast USB 3.0 and Gigabit Ethernet. The model I purchased is the 2GB Ram model Pi4 as for my retro gaming needs this is all I really need, You can also get 4GB and 8GB ram models. Installing the Heatsinks was relatively straight forwards as they came with super-sticky adhesive backing pre-applied to the base.

Installing into the NESPi 4 case
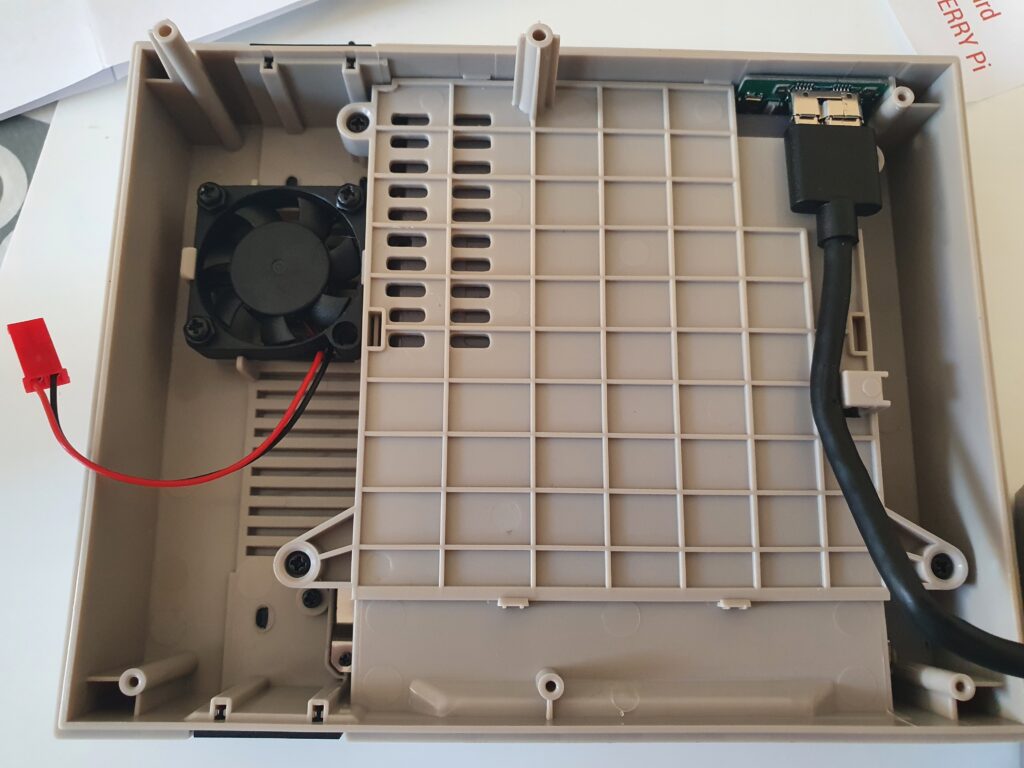
The included instructions were simple to follow with a diagram showing where to screw in the Pi4 and connect each USB into the sockets on the Pi4 allowing for an easy installation. The fan installation was the trickiest part as the wires were quite short with the fan being seated in the lid and the fan connecter in the base I had to semi-close the case for the wires to reach.


Installing an operating system
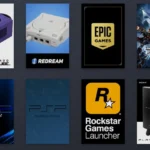
The next step was for me to decide on what operating system to install and there are a number of options out there but as this was going to be a retro gaming system the OS was always going to be RetroPie with Emulationstation however, I found out some great people of the raspberry and retro gaming community have made pre-made images to suit your MicroSD card size and they include everything you need, just plug and play. The image I used was to fit my 128GB MicroSD card and is loaded with content. This is called DamasoNostalgiaTrip128gbPi4.img and this was acquired from the Arcade Punks website. There are many different images you can choose from. You can see a preview of the image below.
The only setup you really need to do with a premade image is to configure your controller with the prompts onscreen which are easy to follow.
I found the 128GB Image was already set up for use with a DS4(PlayStation 4 controller) so I did not have to configure that.
Safe Shutdown Script
The Nespi4 comes with the option of being able to shut down the system using the power button on the front of the unit, this is handy and saves having to navigate through the settings onscreen to shut down the unit. To do this you will need to plug an ethernet cable into the back of the unit or connect via wifi in the options menu and then depending on the type of Retroflag case you have the options will vary, see here for more details.
Final Thoughts
Overall I think the Nespi4 case is a solid piece of kit, the build quality feels premium and combined with the Raspberry Pi4 it makes for an excellent retro gaming system.
Thank you for taking the time to read this article if you have any questions then please leave a comment below or reach out to me on Twitter, until next time, take care.
Be sure to check out my article on Building a Bartop Arcade with a Raspberry PI