Aug202025
He-Man Dragon Pearl of Destruction – New Retro Brawler
The 1980s gave us bold heroes, catchy cartoons, and unforgettable battles between good and evil. Now He-Man is back. Bitmap Bureau has announced He...









Building a Bar top Arcade with a Raspberry PI
Ever since the late 1980s, I have acquired a passion for video games. Having first owned an Atari 2600 opened up a long and fascinating journey into the world of gaming. I would acquire many systems and many games and one of my most loved formats of mine is the Arcade.
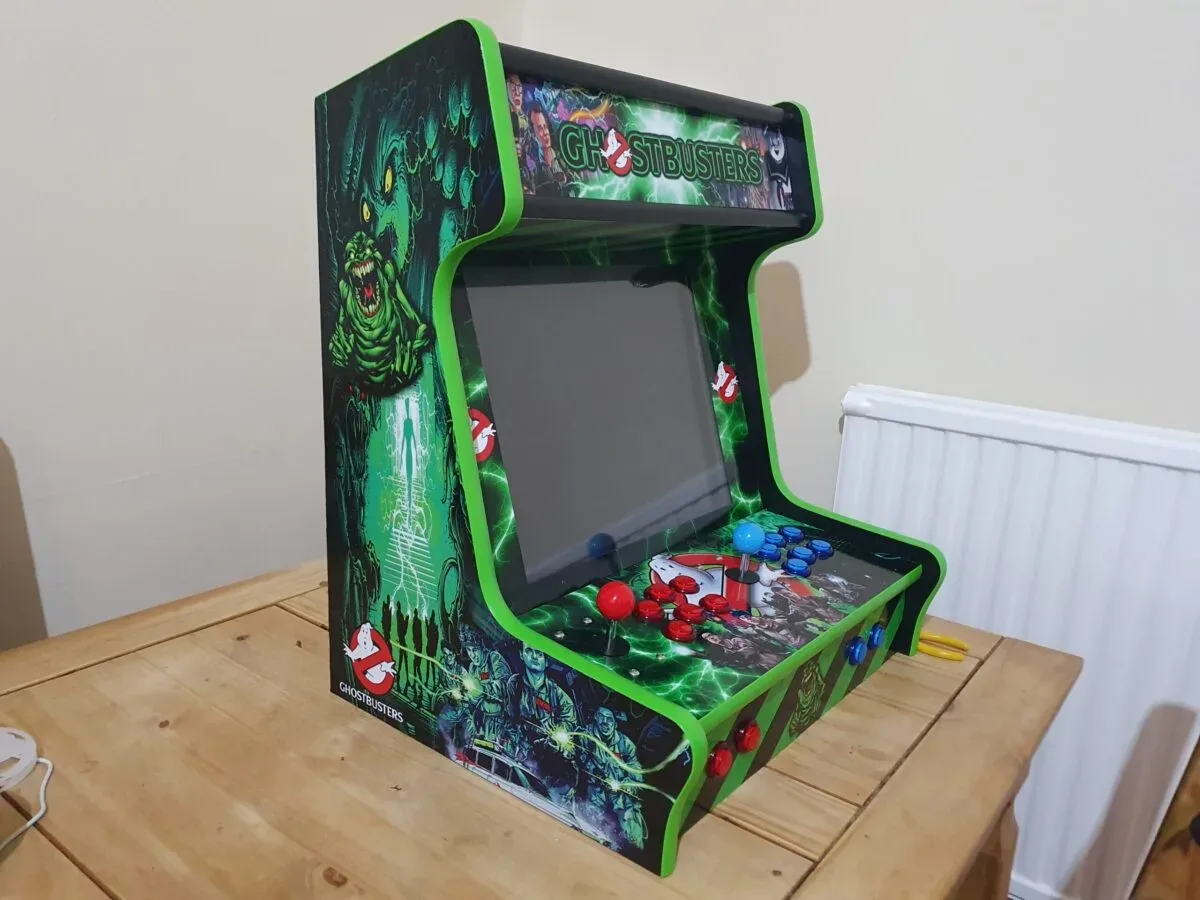
Building an Arcade is something I always wanted to do and today I can say I finally achieved that goal. If you are reading this then you are maybe interested in looking to build your own Bar Top Arcade. Today I will show you exactly how I have done this easily.
Going into this build I had very little knowledge of how I was going to achieve this. I was determined and if you are determined too then you will be successful. Trust me it is easier than you think.
After planning out what I needed I decided to start and make purchases. Below is what I bought and have provided links in case you decide to use the same parts.
As well as the above for building a bar top arcade you will need a paint color for the finish. This will vary depending on if you are wanting Vinyl Artwork. Also, be sure to purchase some USB leads and a 4way Extension plug socket.




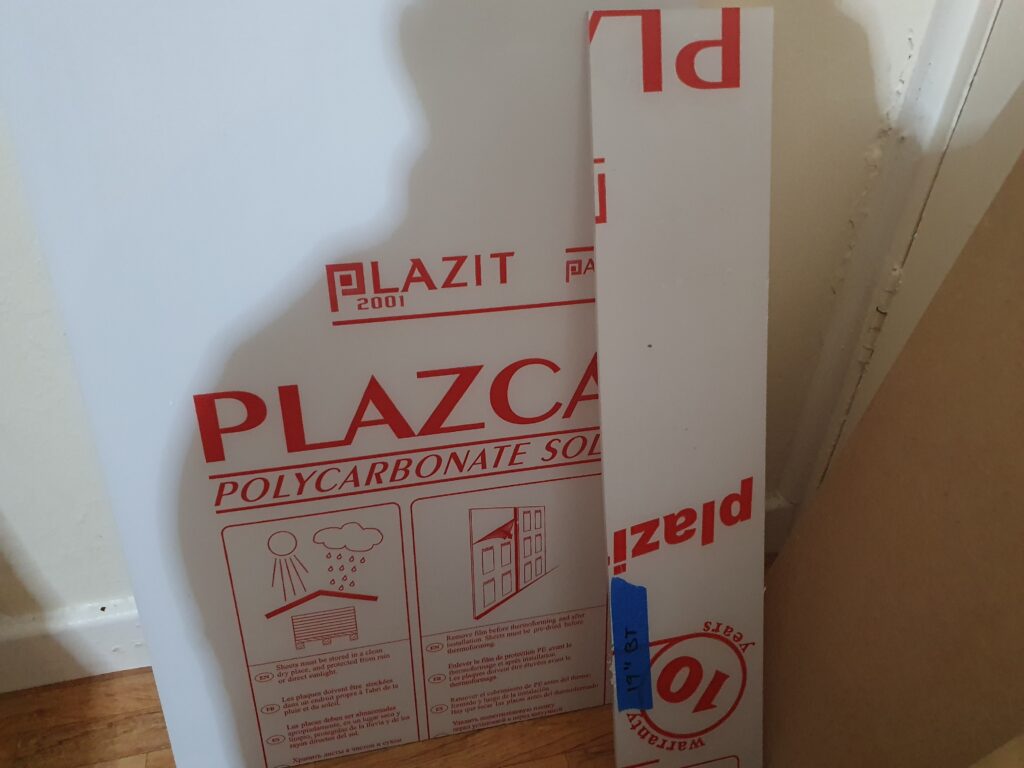
The day the bar top arcade Flat Pack kit arrived I was eager to get started with the building. The kit is a 19inch 2-player kit that will house a monitor up to 19inch and 2 sets of controls. Also included was Perspex to cover the monitor and also Perspex for the Marquee. The kit purchased was obtained from Arcade World, the total price was £104.00. You can get them cheaper on eBay and can get the cost down if you only want a single-player cab. I found the instructions relatively easy to put the cab together.




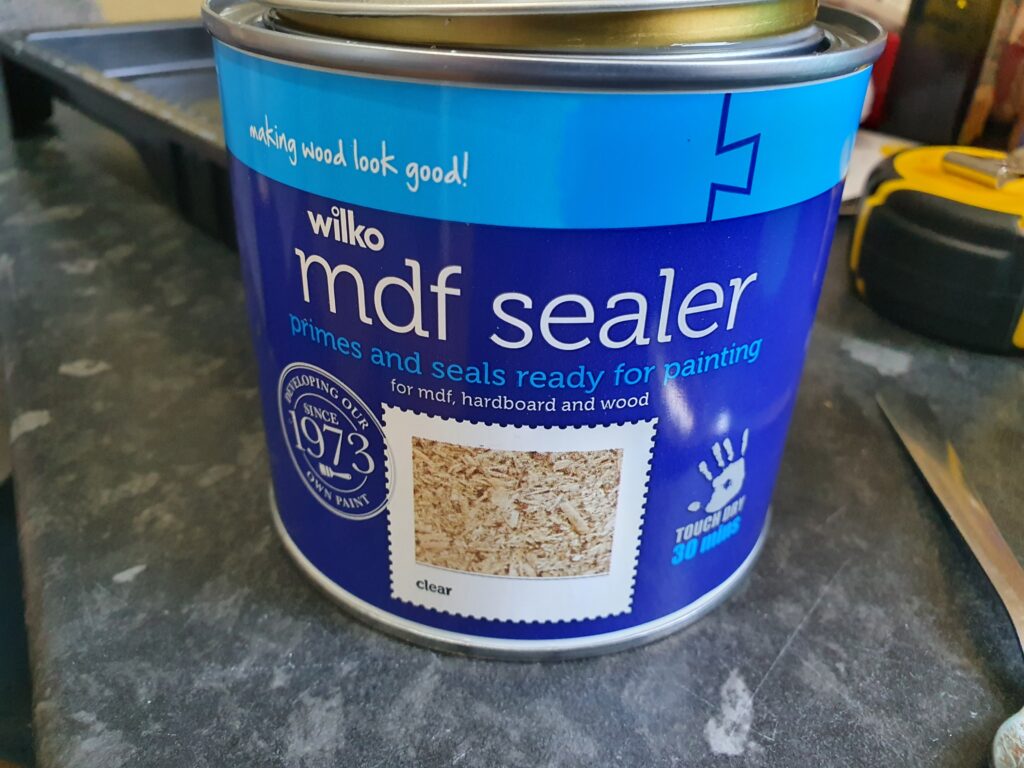
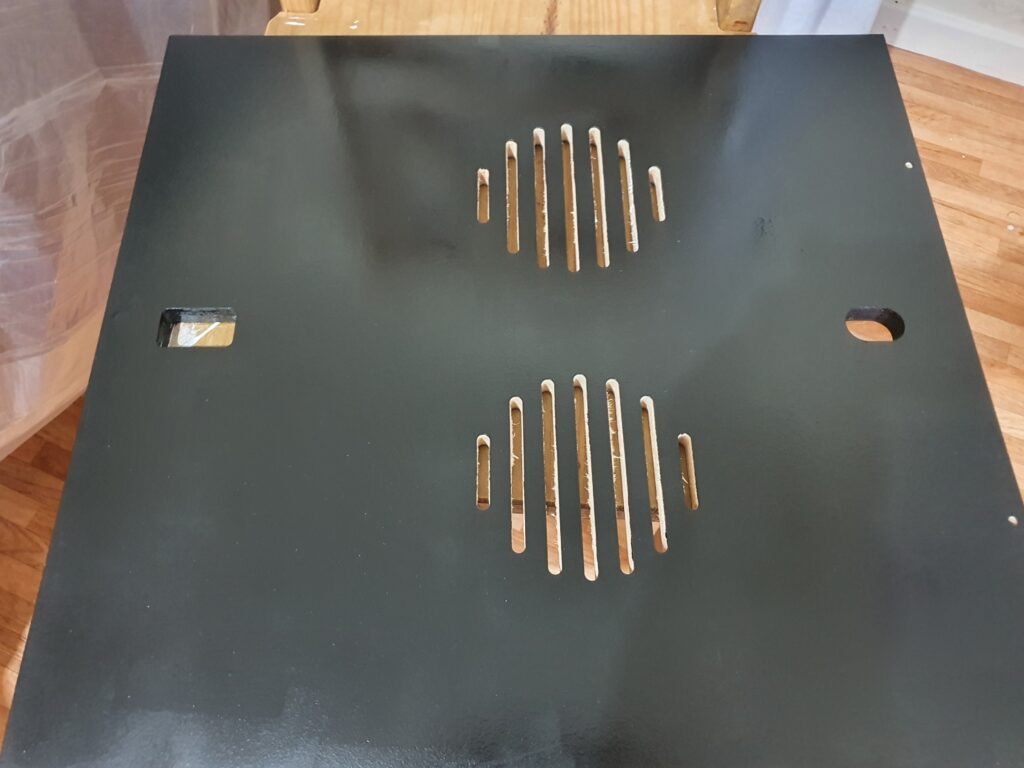
Most bar top arcade Kits are made from MDF, this needs to be sealed. You can’t just paint straight onto the surface because MDF is highly absorbent, even a tiny amount of moisture can cause it to warp. I gave the surface 2 coats of sealer a few hours apart and I sealed everything just to be sure including the insides.
Now, this is completely up to you whether you decided to give it an undercoat. The sealer should be good enough to paint onto. I wanted more protection so purchased some white MDF undercoat. I gave it 2 coats a few hours apart sanding between coats to obtain a smooth finish. You can use fine sandpaper whether it’s a battery-powered sander or just by hand.


Now is the time to decide if you are wanting Artwork on your cab or just a nice finish. I planned to use Vinyl Artwork for the final look of the cab and this requires a nice smooth surface to stick to. So I chose a black satin wood finish.
I applied the paint smoothly with a small foam roller and then sanded in-between coats making sure the parts of the cab where the artwork is to be applied are as smooth as possible you really can not sand enough so keep going until you are confident of a smooth finish and apply your final coat smoothly again sanding if you need to. Leave to dry for a day or two.


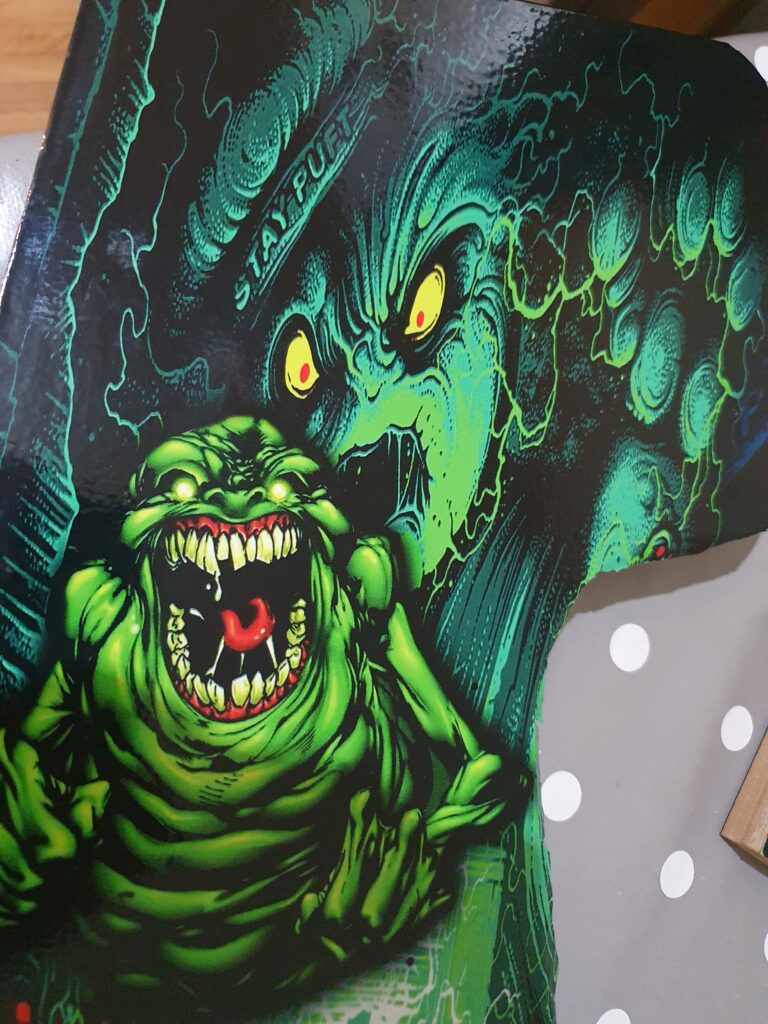
Deciding the final look of the cab was tough as there are so many great designs out there for you to choose from and many places to get them from and depending on what you want it will vary in price. I found Amazon and eBay sellers do cheap enough vinyl artwork so if you are on a budget then try there.
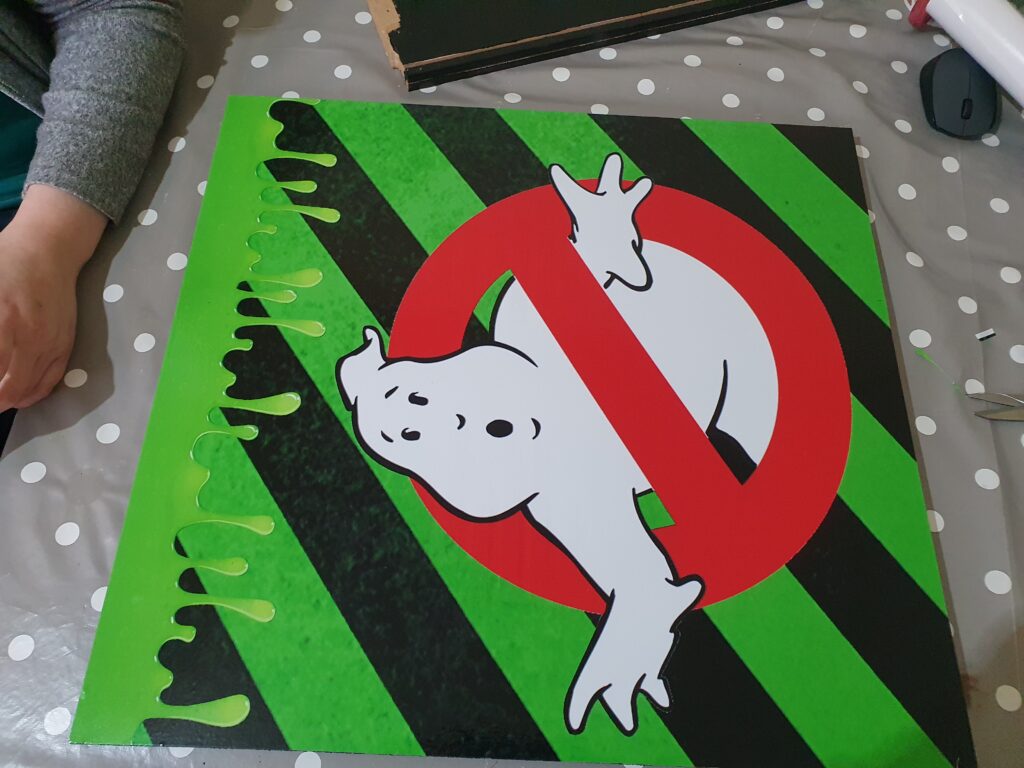
My first choice was a Teenage Mutant Ninja Turtles design but then I stumbled upon an incredible Ghostbusters full set, This artwork cost £85.00 I simply had to purchase it.
Applying this artwork was worrying, so I had a look on YouTube to see how others had done this and it gave me more confidence.
I found applying the artwork much easier than I first imagined and what I did was disassemble the cab and then draw around each piece on the back of the vinyl leaving a couple of inches spare and not drawing to the edge as you want some excess to cut away after applying the artwork.
If you have someone to help you then it will be even easier. line up your artwork making sure it is straight then peel away a small part of the backing paper and stick this down while someone is pulling the paperback away from under the artwork slowly, you just have a cloth and rub left and right gently eliminating any small air bubbles that appear and the vinyl will go down well, just both go at the same pace and take your time.
Using a sharp cutting tool you will need to go around the edges and trim off the excess vinyl. A razor blade was sufficient and it glided around nicely easily cutting off the excess. Do not go all the way to the edge, be sure to leave a few millimeters to tuck under the trim.




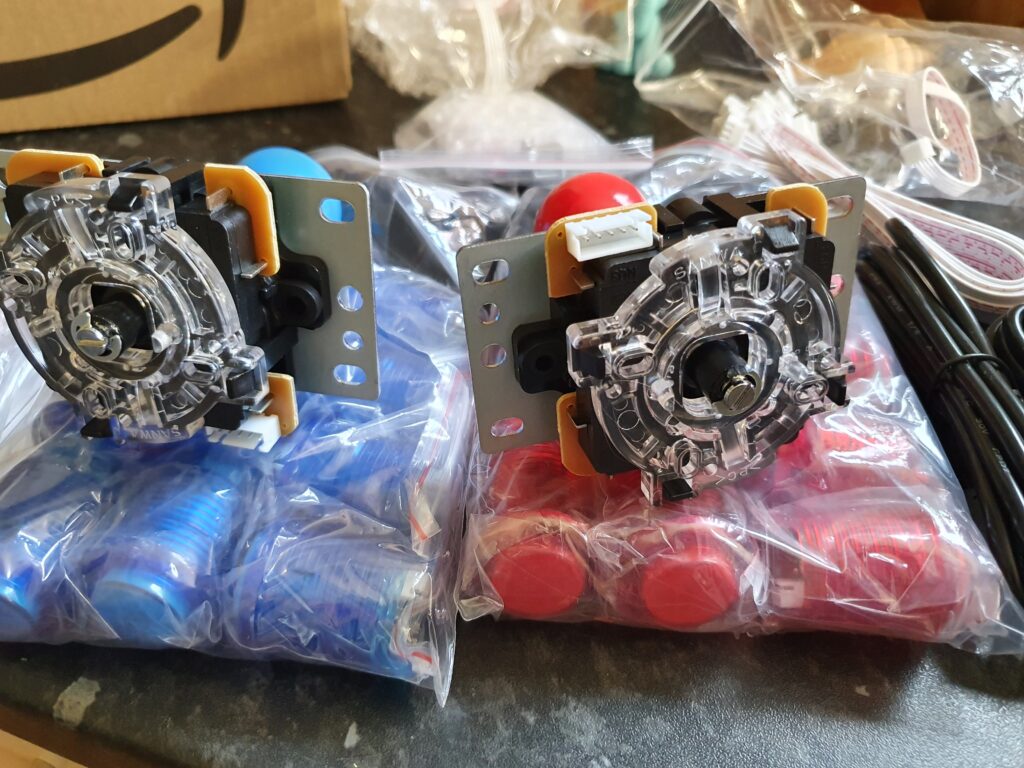
Before assembling the cab back together it was time to install the joystick and buttons into the control panel. The controls were easy to set up as you just insert the buttons and joystick into the Zero Delay USB Encoders and connect the Encoders via USB to the Raspberry Pi and you are good to go. The buttons come with fasteners that secure them into place and for the joystick, I had to screw 4 small holes in the control panel for both of them to fasten in. I found this all easier than it looks but if you have any issues then feel free to leave a comment or contact me directly and I will gladly help.
Before assembling the cab I plugged both USBs from the controls into my PC and tested to make sure the buttons and the joysticks worked, you can do this by typing into windows setup game controllers.


Before rebuilding I installed the marquee artwork onto the bezel and this was slightly different to install with it being plastic and not wood, I used water in a spray bottle with a few splashes of liquid detergent to form a slippery surface and I must stress if you plan to do this then don’t be shy as you can use as much as you like just to get the artwork on.
I placed the artwork straight down in one go and then moved it around until it was level and then used a piece of card, credit card-sized to squeeze the water out from the center in all directions making sure there were no bubbles. I left it to dry overnight and the following day trimmed away the excess vinyl and then slotted it into place.


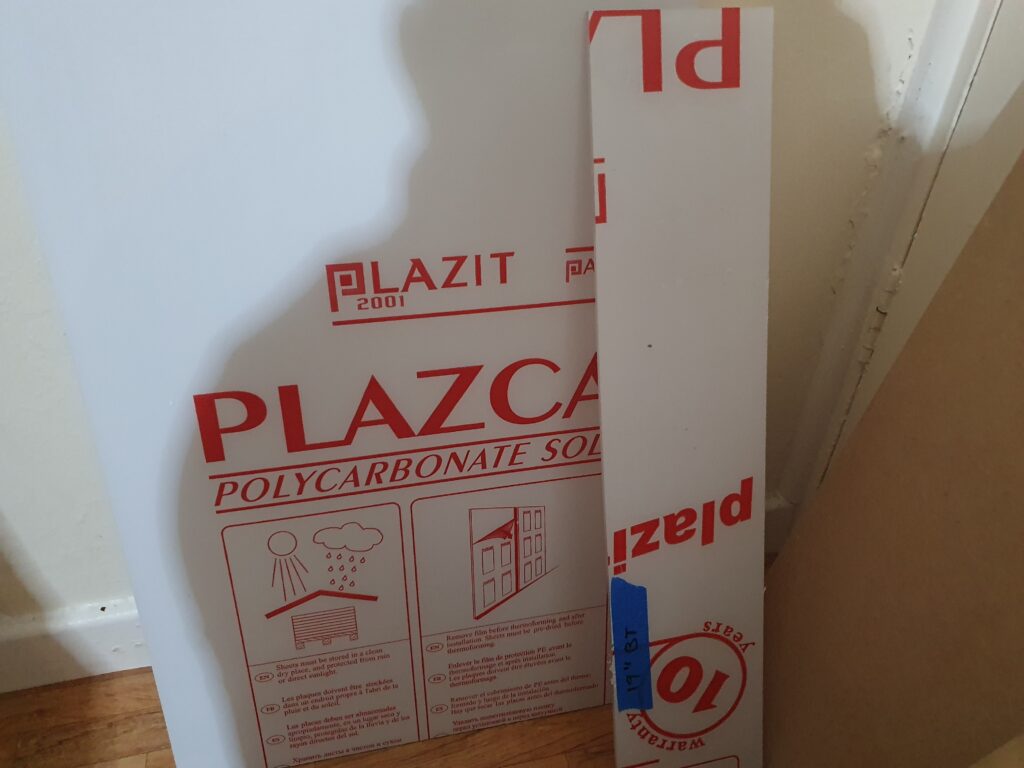
After rebuilding the cab it was time to plan a bezel that would cover the screen and hide the surrounds of the monitor to do this I temporary placed the monitor in the cab on the included VESA mount (we will get to that next) and then measure the distance from the screen edges to the top, bottom left and right of the cab accounting for the groves where the Perspex slots in. With the measurements, I gave them to the suppliers of the Ghostbusters artwork and they printed me a vinyl bezel that will stick onto the Perspex using the same method as the marquee using soapy water.
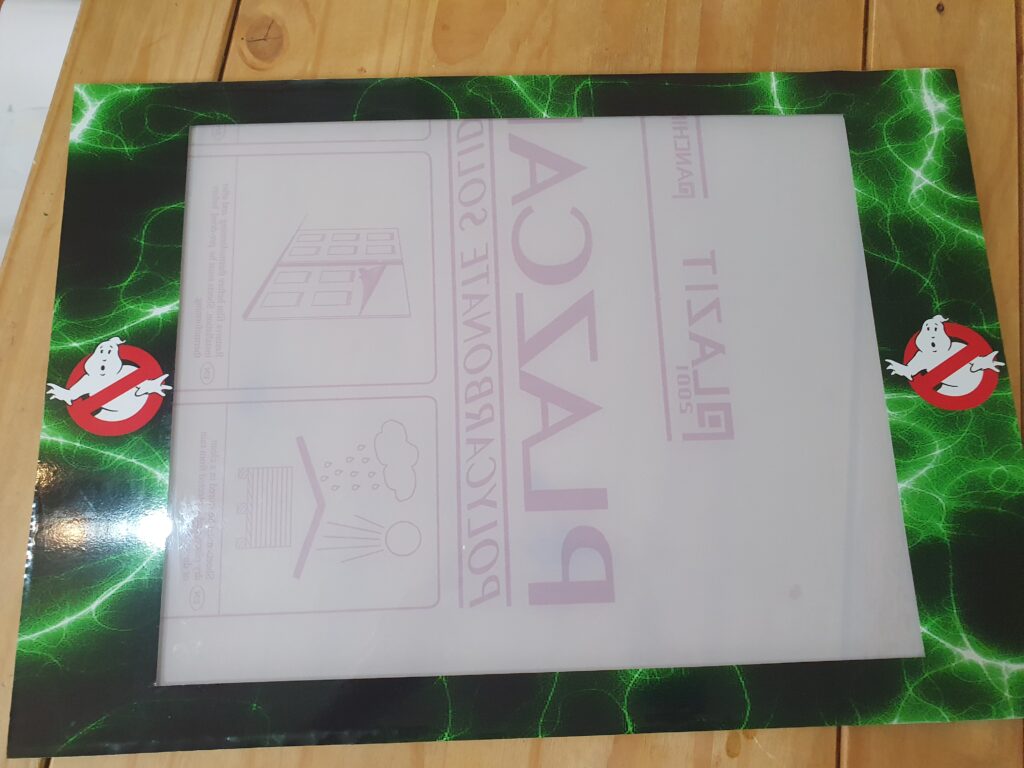
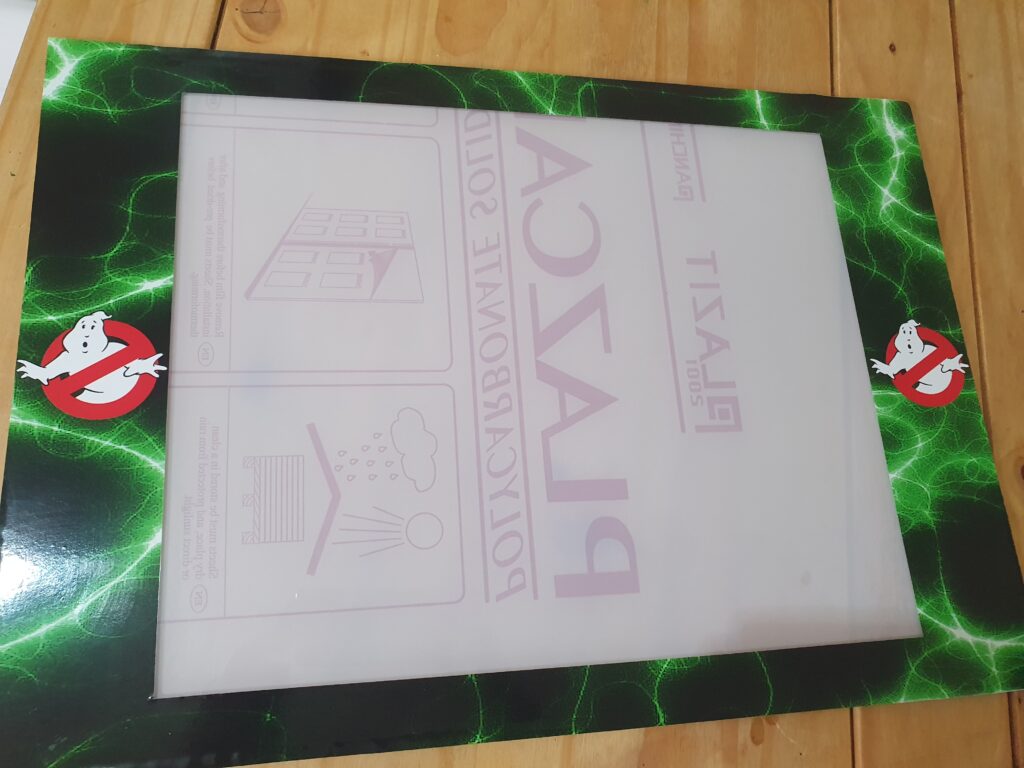
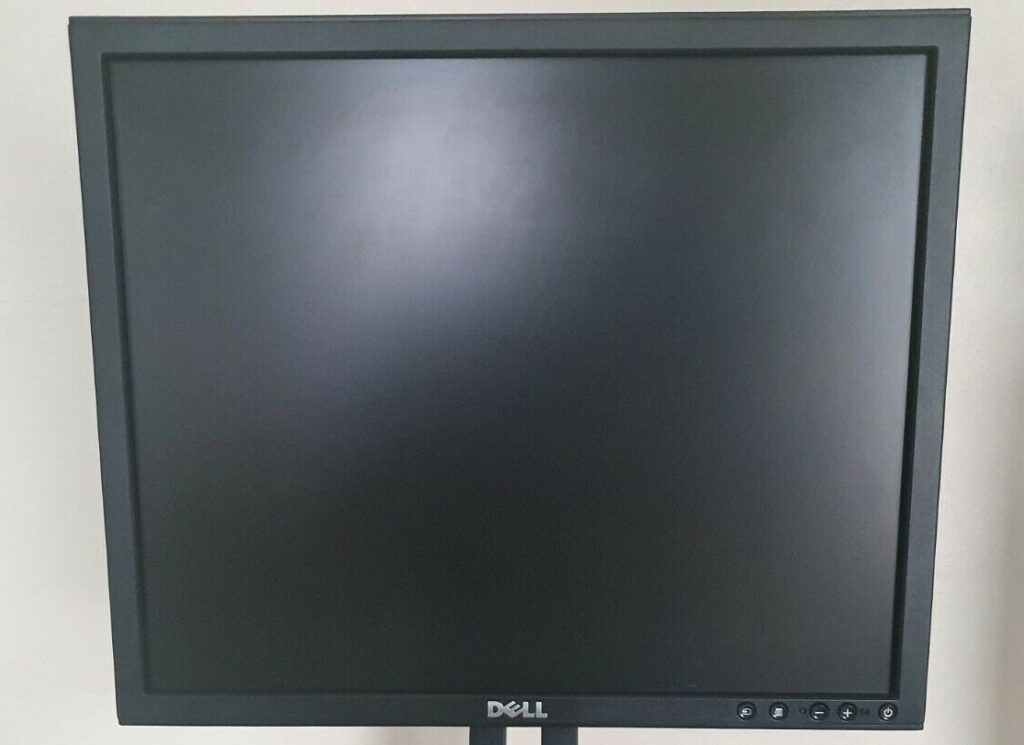
The cab kit also came with an MDF VESA mount with all the bolts and connectors included and most kits you will find will also have the mount which will hold the monitor. The Dell monitor I bought was perfect as I could detach the stand and the plate and just screw the bolts through the mount and into the back of the monitor although I did have to make some adjustments to get it level.
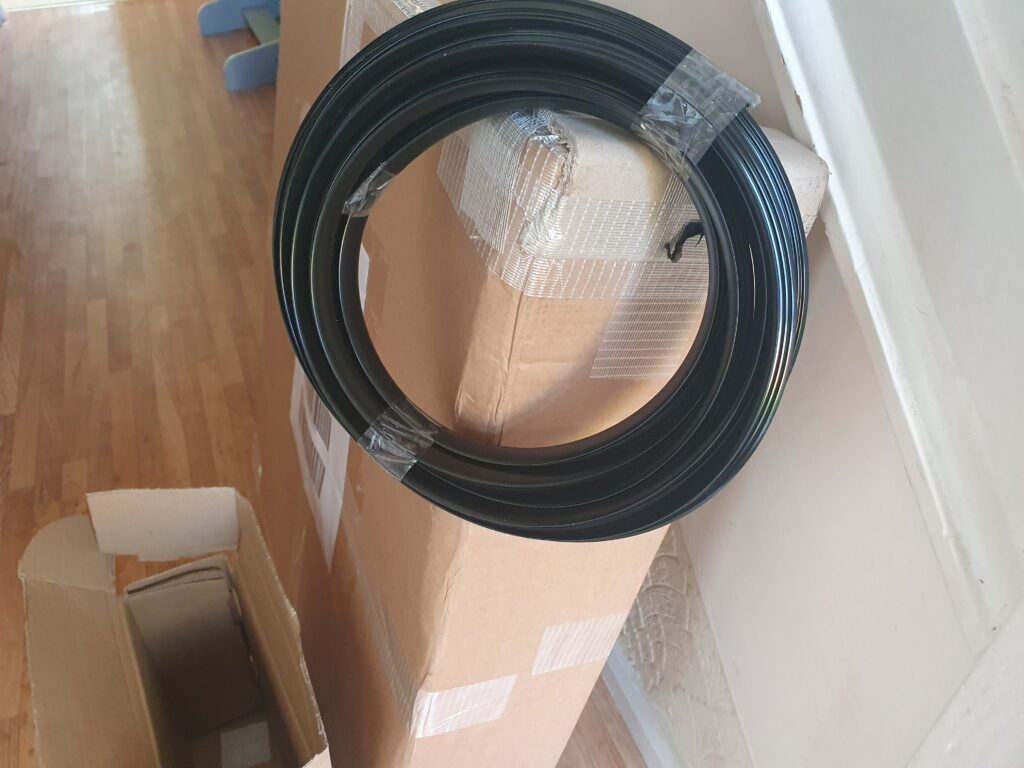
The T-Trim purchased is an apple green color which I thought would make the cab really pop and it worked well but for the marquee, I decided on black Trim to change it up a little.
Be sure to get the correct size for the slots. Wherever you buy a cab from, the supplier will help with this.
Installing the Trim is fairly easy but made easier with the use of a rubber mallet/hammer.


Installing the amp, speaker, Raspberry Pi, 4-way plug socket and lights gave me little room for thought as with very little space left I had to plan wisely. For the marquee, I just thrown in green led strips very cheap to buy for around £5.00 these are USB and connect to the Raspberry Pi.
connecting everything up is straight forwards as all wires are mainly USB apart from the amps power supply and the mini HDMI to DVI cable that connects the Raspberry Pi to the monitor.
I installed the amp onto the back of the VESA mount freeing up a little more space than just screwing down everything else. The speaker I screwed to the back panel, this panel has magnetic strips so easy to take off and on. The amp connects straight to the Raspberry via a 3.5mm Stereo to 2 RCA M/M Cable.
The IO ON/OFF switch is wired directly to the 4-way plug extension as you can see in the image below, the insides can get quite messy.

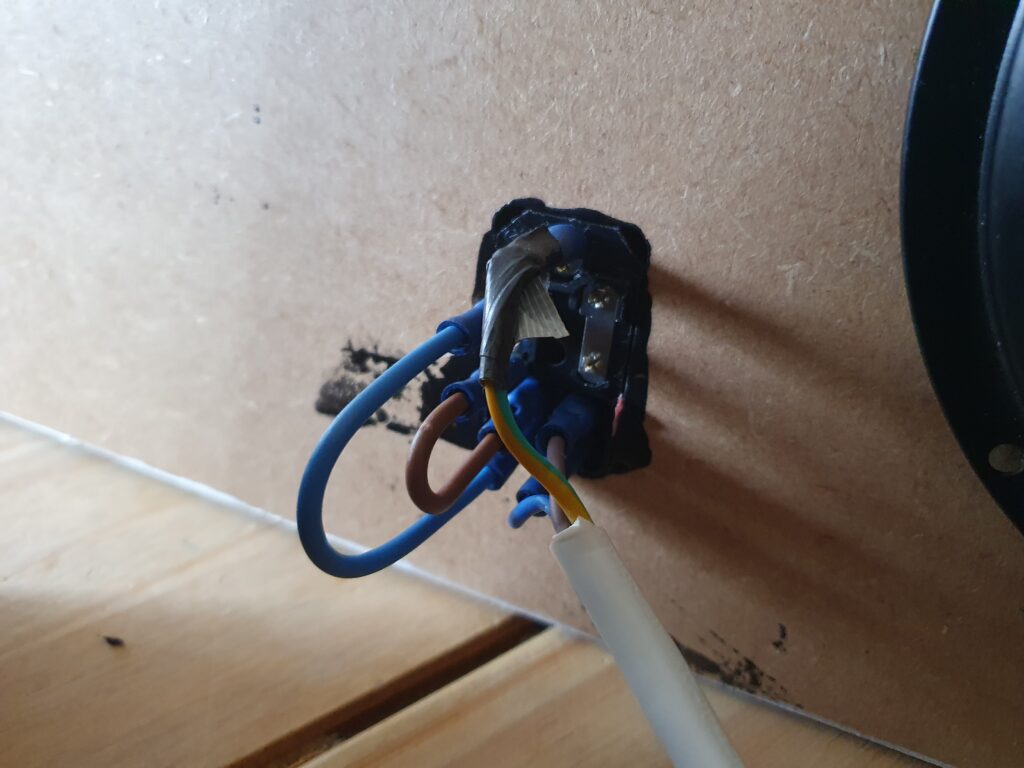
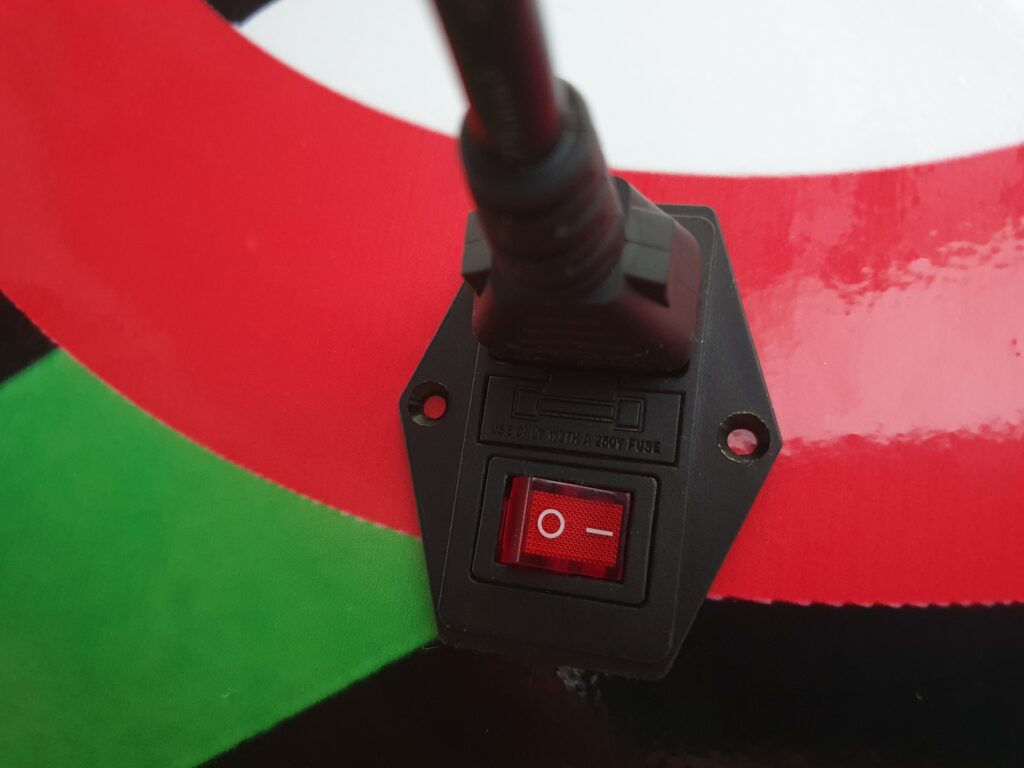
The last thing to do is install your SD card in the Raspberry and then set the controls up which is straight forwards.
I used a premade image that had everything configured already, a quick internet search and you will find many.


Thank you for taking the time to read through this article I hope that I have been of some help in your quest to build a Bar Top Arcade and if you do build one then please let me know and send me images of your project and I will gladly showcase them here on an upcoming section dedicated to peoples builds.
You can reach out to me on Twitter also feel free to drop a comment below, Until next time, stay cool.
Jamie Elliot
The 1980s gave us bold heroes, catchy cartoons, and unforgettable battles between good and evil. Now He-Man is back. Bitmap Bureau has announced He...
Back in early 1997, I stumbled into a Beatties model shop in Nottingham city centre. The store was not so busy, and to my surprise, inside was what...
T2D Release Pushed Back Fans of the upcoming retro-inspired shooter Terminator 2D: No Fate will have to wait a little longer to get their hands on ...
The Nintendo Game Boy was home to many great games, but some were incredibly difficult. Whether it was unforgiving platforming, relentless enemies,...
In the vast world of video games, certain titles stand out not just for their gameplay but for their quirky charm and lasting impact. One such game...
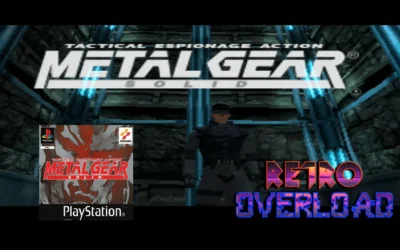
Metal Gear Solid Review – PS1 When Metal Gear Solid hit the PlayStation in 1998, it redefined what players thought a video game could be. Hid...
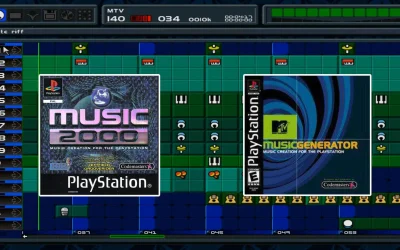
Platforms: PlayStation (PS1)Developer: Jester InteractiveRelease Date: 1999Genre: Music Creation/Simulation Introduction In the late ’90s, th...
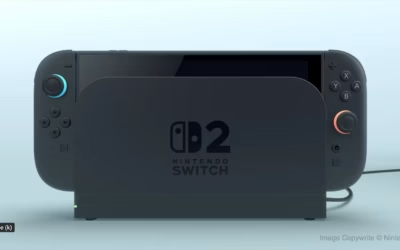
Understanding Game-Key Cards on the Nintendo Switch 2 Nintendo’s upcoming console, the Nintendo Switch 2, set for release on June 5, 2025, br...

The OneXPlayer Sugar 1 is a groundbreaking addition to the handheld gaming market, offering a unique dual-screen design that transforms the gaming ...
Microsoft’s Plans for an Xbox Handheld Console Microsoft is reportedly working on a dedicated Xbox Handheld Console, aiming to expand its gaming ...
Xbox Game Pass continues to be one of the best subscription services for gamers, offering a vast library of titles across multiple genres. As 2025 ...
Xbox is currently hosting a free games giveaway. This is a limited-time “Buy One, Get Two Free” sale, offering gamers the opportunity t...
GTA 6 Online Features Update As the gaming community eagerly anticipates the release of Grand Theft Auto VI (GTA 6) in the fall of 2025, recent dev...

Days Gone PS5 Remaster Announced at State of Play In a thrilling announcement during Sony’s State of Play on February 12, 2025, Bend Studio u...
PS4 games removed from PS Plus Sony Announces the End of PS4 Games on PS Plus: What It Means for Gamers In a move that has sparked mixed reactions ...
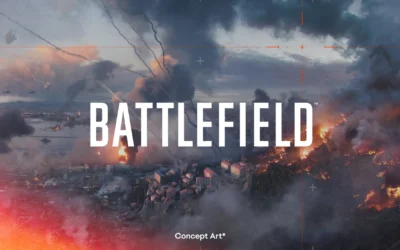
How to Sign Up for Battlefield Labs and Get Early Access to the Upcoming Battlefield Game The excitement for the next installment in the Battl...
Nintendo has officially unveiled its next-generation console, the Nintendo Switch 2, set to launch in 2025. Building upon the success of the origin...
EA has officially announced that the Battlefield returns the franchise to modern warfare. Fans who were disappointed by Battlefield 2042 can now ex...
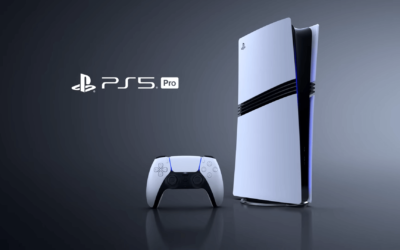
It’s real! the PS5 Pro Officially Announced! Sony has finally confirmed the release of the long-rumored PS5 Pro. This upgraded console offers...
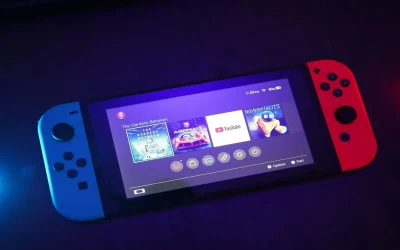
Nintendo plans to announce the successor to the Switch by April 2025, though it’s unclear if the new console will be named “Nintendo Sw...