









PiStation build with Raspberry Pi4

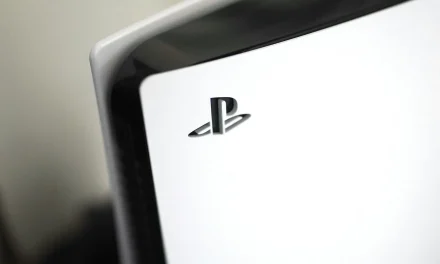
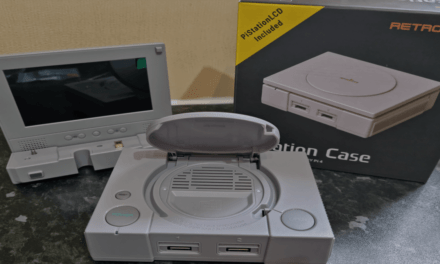
Today’s article is another gaming build and this is a PiStation build with the Raspberry Pi4. I know what you are thinking, it looks like it and is based on a PlayStation 1 design. This is one of many great cases made by Retroflag.
Retroflag makes many console cases based on classic console designs, they even make replica controllers so do check them out. I will be installing the Pi4 on the PiStation today and show you it in action later on. First, let’s dive in and take a look at the case.
Case choices
First of all, the case comes in two options, with an LCD screen or without. If you opt for the latter then you will be paying a much higher price. The standard base case at the time of writing is £26.90 and with the LCD it is £80.90. I bought the full case with the LCD included.
Design and Features
As you can no doubt tell already the case looks remarkably familiar, yes, it is designed similarly to Sony’s first console, the PlayStation 1. It even has working power and reset buttons which we will get to shortly.
Along the top, the buttons are positioned in place just like the classic mini. The reset button is on the left and the larger power button is below.

The eject/open button on the right hand side is functional and the center door does open. This is where you can store your spare SD cards. In the front of the case are 2 USB ports for 2 controllers and on the left side of the case behind a cover, there is a LAN and two more USB ports.


Depending on whether you have an LCD attached or not the back of the console is laid out slightly differently. On the base console, you have the USB-C DC IN on the left, the twin micro HDMI sockets, and an audio socket. The difference with the LCD unit attached is instead of the micro HDMI sockets, you have a full-sized HDMI OUT socket. On the base of the console is a micro SD slot for your choice of system image.


The LCD
The LCD attachment houses a 4.3 800×480 high-resolution screen. It is crystal clear and looks very nice when powered on. Below this is a display button to change the aspect ratio between 4.3 and 16.9. On either side are volume and brightness controls to adjust accordingly. On the left and right are built-in stereo speakers.


The LCD attachment slots into the back with ease and is tightened with 2 bolts. Once tightened it is secured really well. The top LCD part of the attachment is on hinges and can be folded down, handy for when playing on an external display.

Raspberry Pi4 Installation
This case is made compatible with Raspberry Pi4 models only so Ive opted for a PI4 model B. If you are new to Raspberry then be sure to buy some heatsinks and install them on the Pi as pictured. This will stop the chips from overheating.
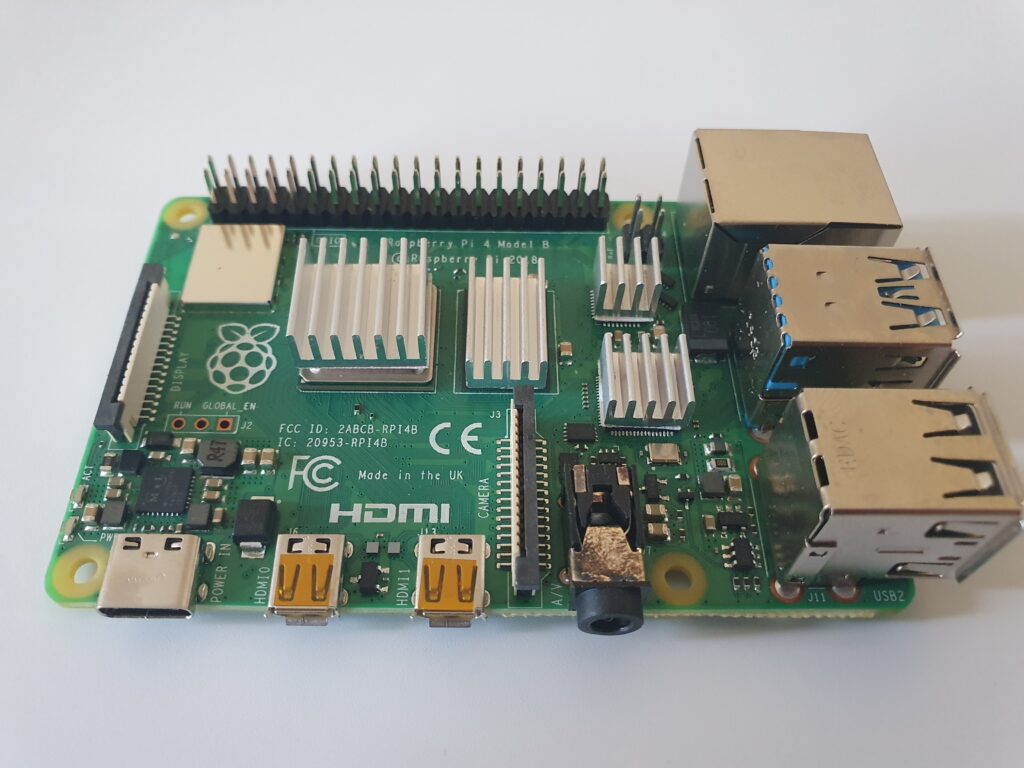
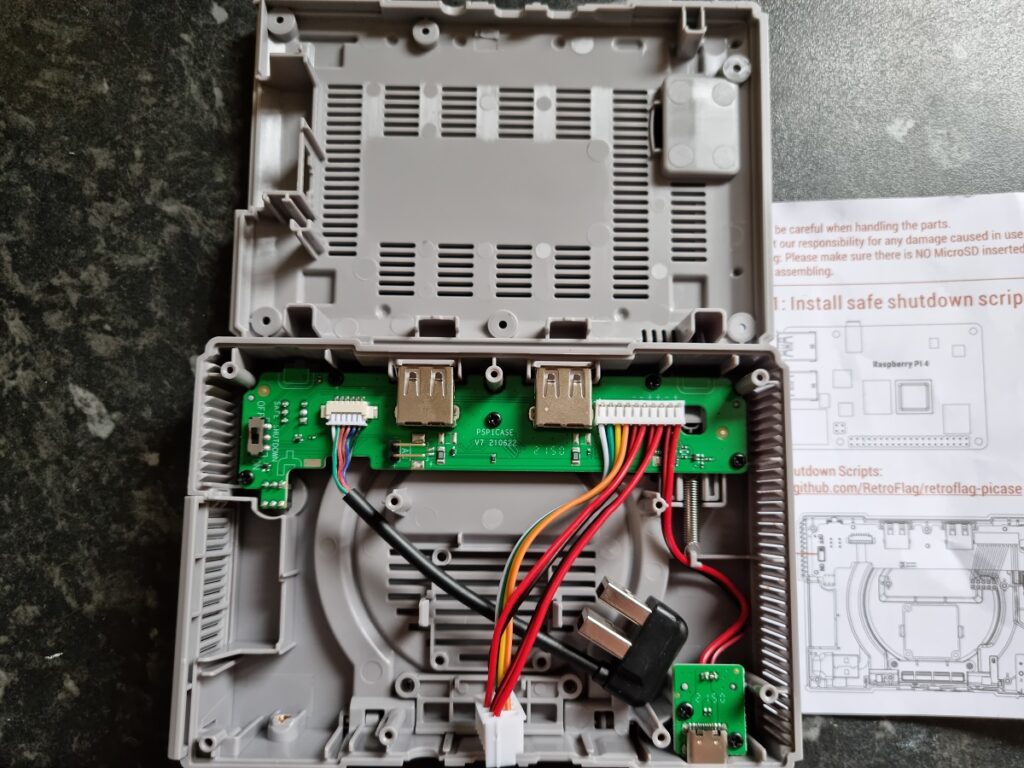
The case comes with instructions, a screwdriver, and screws. The instructions are straightforward and easy to follow. What the case doesn’t come with is a fan, I purchased one separately and these are cheap enough to buy. The fan is easy to install, it clips in the center bottom and you don’t have to even screw it in. The Pi4 is connected to two USBs on the base and a connector at the top.


Safe Shutdown Script
In some of the cases that Retroflag makes are power and a reset button. These do not work out of the box and require an extra step. For these style cases, you will need to access the terminal on Raspberry Pi and install a safe shutdown script. Depending on the image and type of case you have it varies. See more about the safe shutdown here.
The PiStation In Action
For testing the PiStation I obtained a premade Image that comes packed with retro systems and about 12k games. If you are wanting this image then a quick search for “128gb-12K.Gold.Batocera.Rpi4-Wolfanoz” will help you to find it.
First impressions when powering on the console are instantly positive. The LCD screen is very clear with a sharp image that is vibrant and easy to look at. The stereo sound coming through the speakers is very impressive with a good balance of bass and treble. The gameplay is also a very smooth and joyful experience.
The video below does not do the LCD any justice, in person, it looks so much better and clearer. Apologies for my poor recording I will update this soon.
TV output
The PiStation connects to an external display with a full-sized HDMI. Once connected the LCD on the console will automatically switch off. The output is what you would expect from a Pi4 being anything up to even 4K resolution.
Final Thoughts
The PiStation although small is a tidy piece of kit and the perfect case for a Raspberry Pi4. You could run this from a battery pack and take it on your travels it is a portable retro gaming beast.
Thank you for taking the time to read my article today, until next time, stay cool…
Jamie E