










How to hack the NES and SNES Classic mini
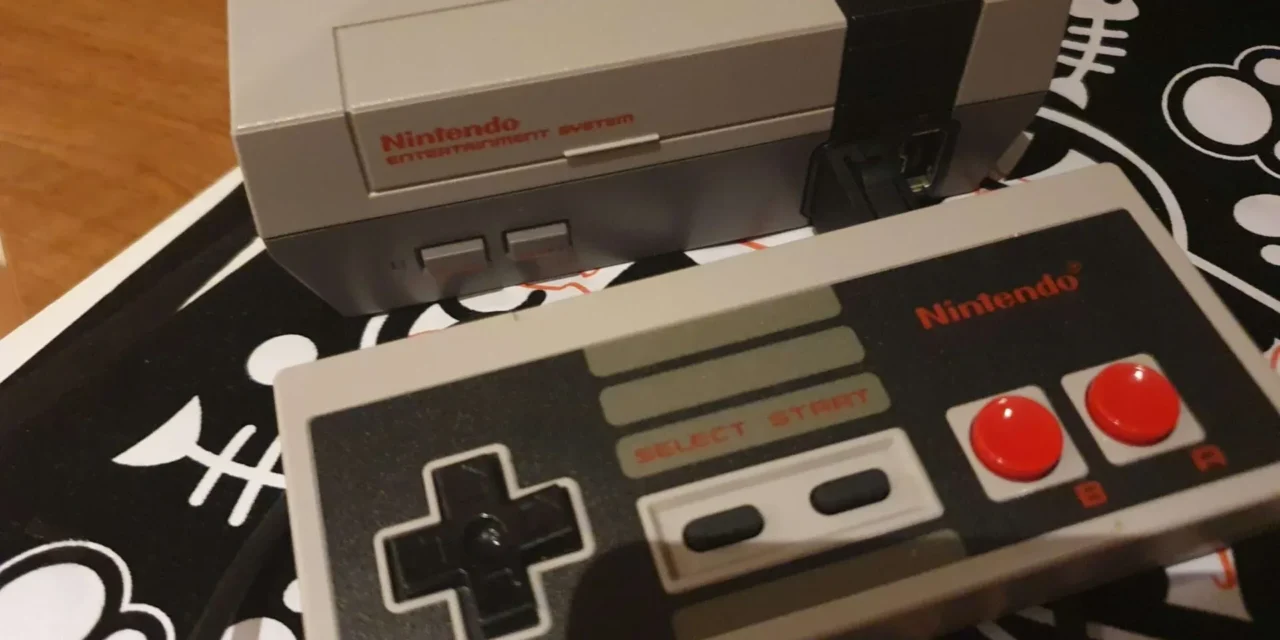
This guide will show you How to hack the NES and SNES Classic mini.
The NES Classic launched back in 2017, Nintendo discontinued the system but began manufacturing it again some months later, after this, the company ceased production of the NES Classic and SNES Classic and I don’t think we will be seeing them released again anytime soon.
Read on to see how you can hack an NES Classic and give your system a new lease of life.

The NES Classic offers 30 games some of the system’s best games but after a while, these can get boring.
With the NES Classic being an emulation device you can add many more games easily.
DIFFICULTY
Easy
DURATION
15 minutes
WHAT YOU NEED
- NES Classic
- Windows-based PC
- USB cord
What you must know
Please remember, you’ll need to have a digital copy of all the games you want to install on your System.
It is completely legal to modify your NES Classic and download programs like the one we will be using! but you have to be careful as NES games are copyrighted. There are many sites to obtain NES games but be sure to make sure the ones you use are legitimate. A quick Google for No-Intro NES Romset should help you.
Now to hack your NES and SNES Classic mini
To install games on the Classic, we will be using a program called Hakchi, this can also be used to hack the SNES Classic.
Step 1:
Download the latest version of Hakchi from here and unzip it.
Step 2:
Run the program and select your system from the popup window

Step 3:
Now, select Add more games and navigate to the folder where your Roms are, and then select the ones you want and press open.
If you are presented with a popup about patches for games select the yes to all option, your new games list will now be present.

Step 4:
Click on Kernel from the menu bar in Hakchi and choose the first option Dump Kernel, you will need to connect your console and follow the onscreen instructions. With the console powered off, connect it to your Windows PC with the USB cable. Press and hold the reset button then press the button until you hear the notification in Windows. Install the driver if needed.

Step 5:
Once completed you will see a popup saying the Kernel has been saved in the Hakchi Dump folder, This will be a backup of your system and can be used to factory reset your console, You can drag this out and save it on your desktop or somewhere easier to remember if you like.
Step 6:
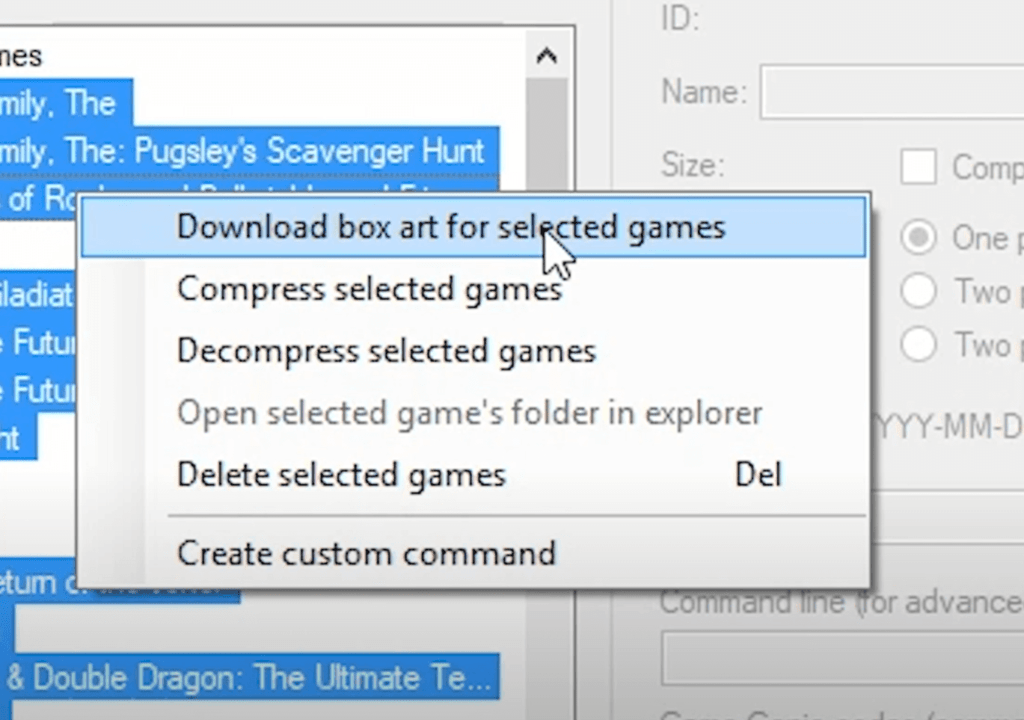
Highlight/select all the games in Hakchi and right-click then choose download box art for selected games. This will take some time so be patient.
Step 7:
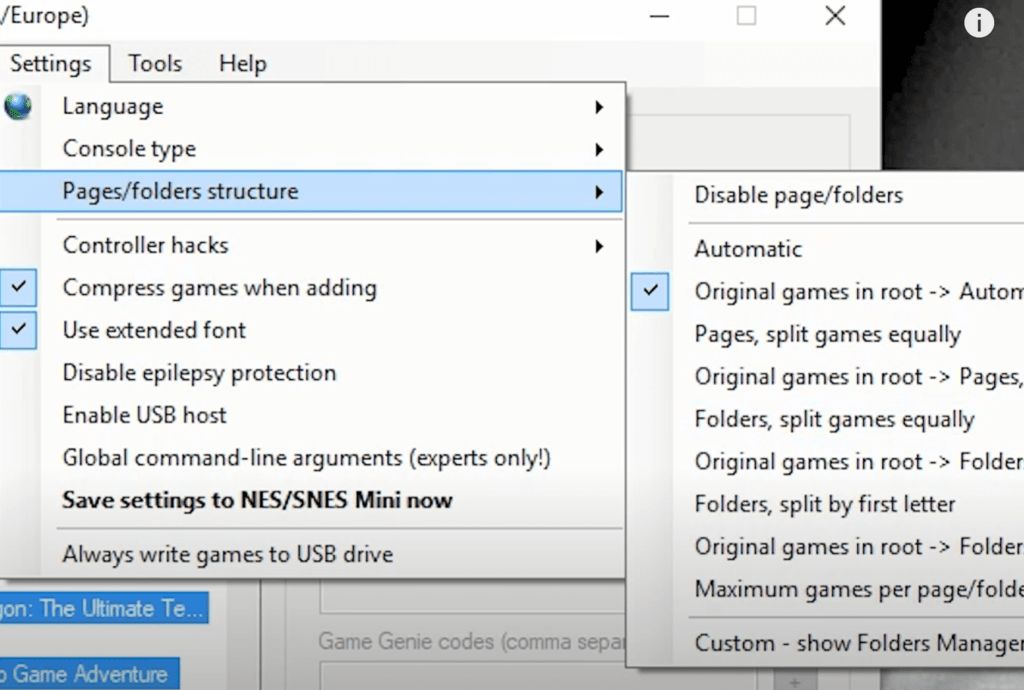
Go to settings, Pages/Folder structure, and choose how you would like the games to display, I chose original games in root automatically but you can use games split into folders split with the first letter if you have a lot of games.
Step 8:
Once done, hit the button at the bottom right that says Synchronize games with NES/SNES Mini and then wait until done.
Finished
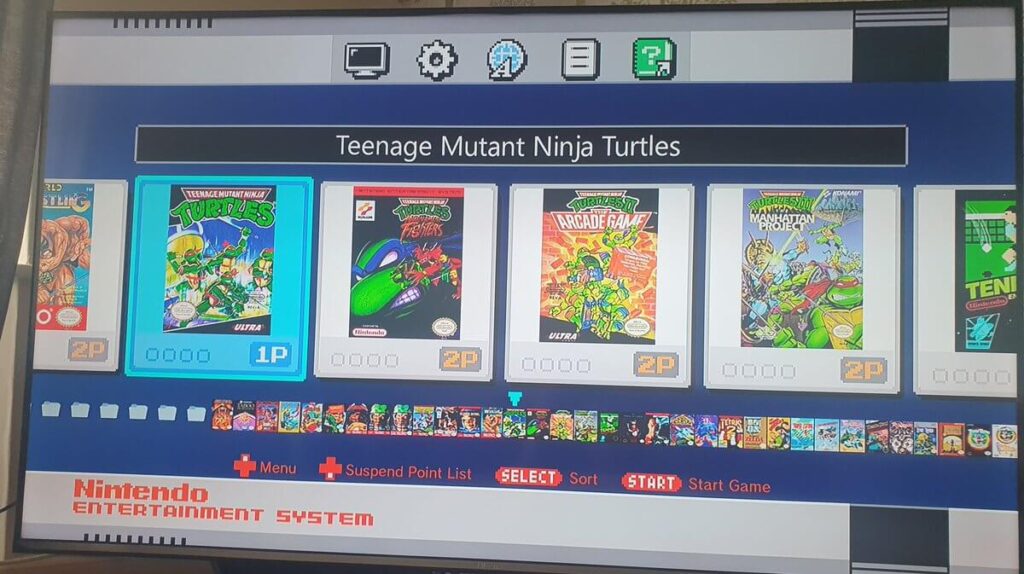
Congratulations, you should now have all the games you wanted now installed on the NES/SNES Mini.
Thank you for taking the time to read this article if you have any questions then please leave a comment below or reach out to me on Twitter, until next time…